
Overview
The Assistive UI is a separate Innomesh application that lets a user control the rooms they are entitled to use, through an interface designed for accessibility. The Assistive UI Users administration surface in Innomesh Portal is where administrators decide two things:
- Which Innomesh users may use the Assistive UI application.
- Which rooms each of those users may access from it.
Access is stored per user, so the Assistive UI presents each person only the rooms they are permitted to reach. Removing a user, or removing all of their rooms, revokes their Assistive UI access.
Assistive UI Users is the last tab in the Administration > Users area, alongside Users, User Groups, Roles, and App Clients.
The Assistive UI Users List
Navigate to Administration > Users, then select the Assistive UI Users tab. The list shows every user who has been granted Assistive UI access:
| Column | Description |
|---|---|
| First Name | The user’s given name |
| Family Name | The user’s family name |
| The user’s email address | |
| Accessible Rooms | The rooms this user may reach in the Assistive UI |
Each entry’s accessible rooms are shown as a row of tags. When a user has more rooms than fit on the line, the remaining rooms collapse into a +N more tag; hover over the tags to see the full list.
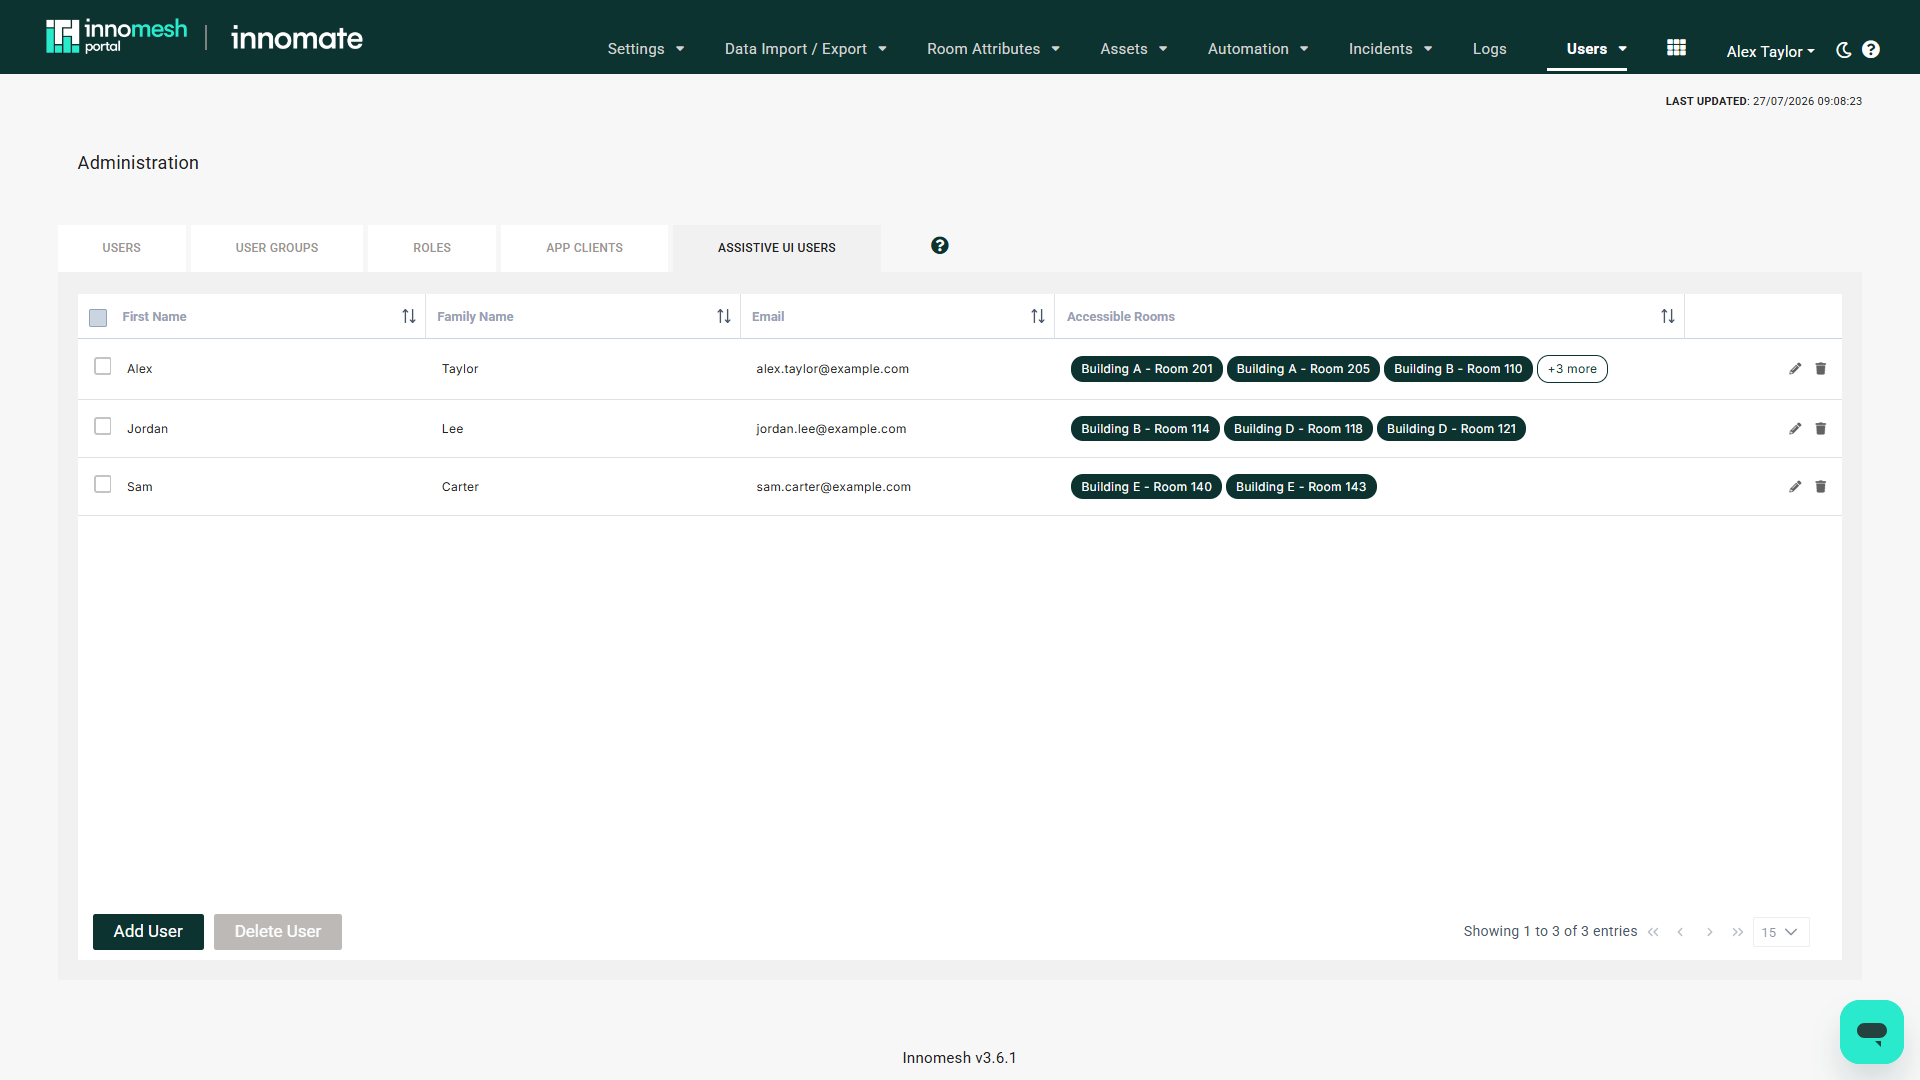
Use the column filter row to search by name or email, sort any column, and adjust the number of entries shown per page.
Adding a User
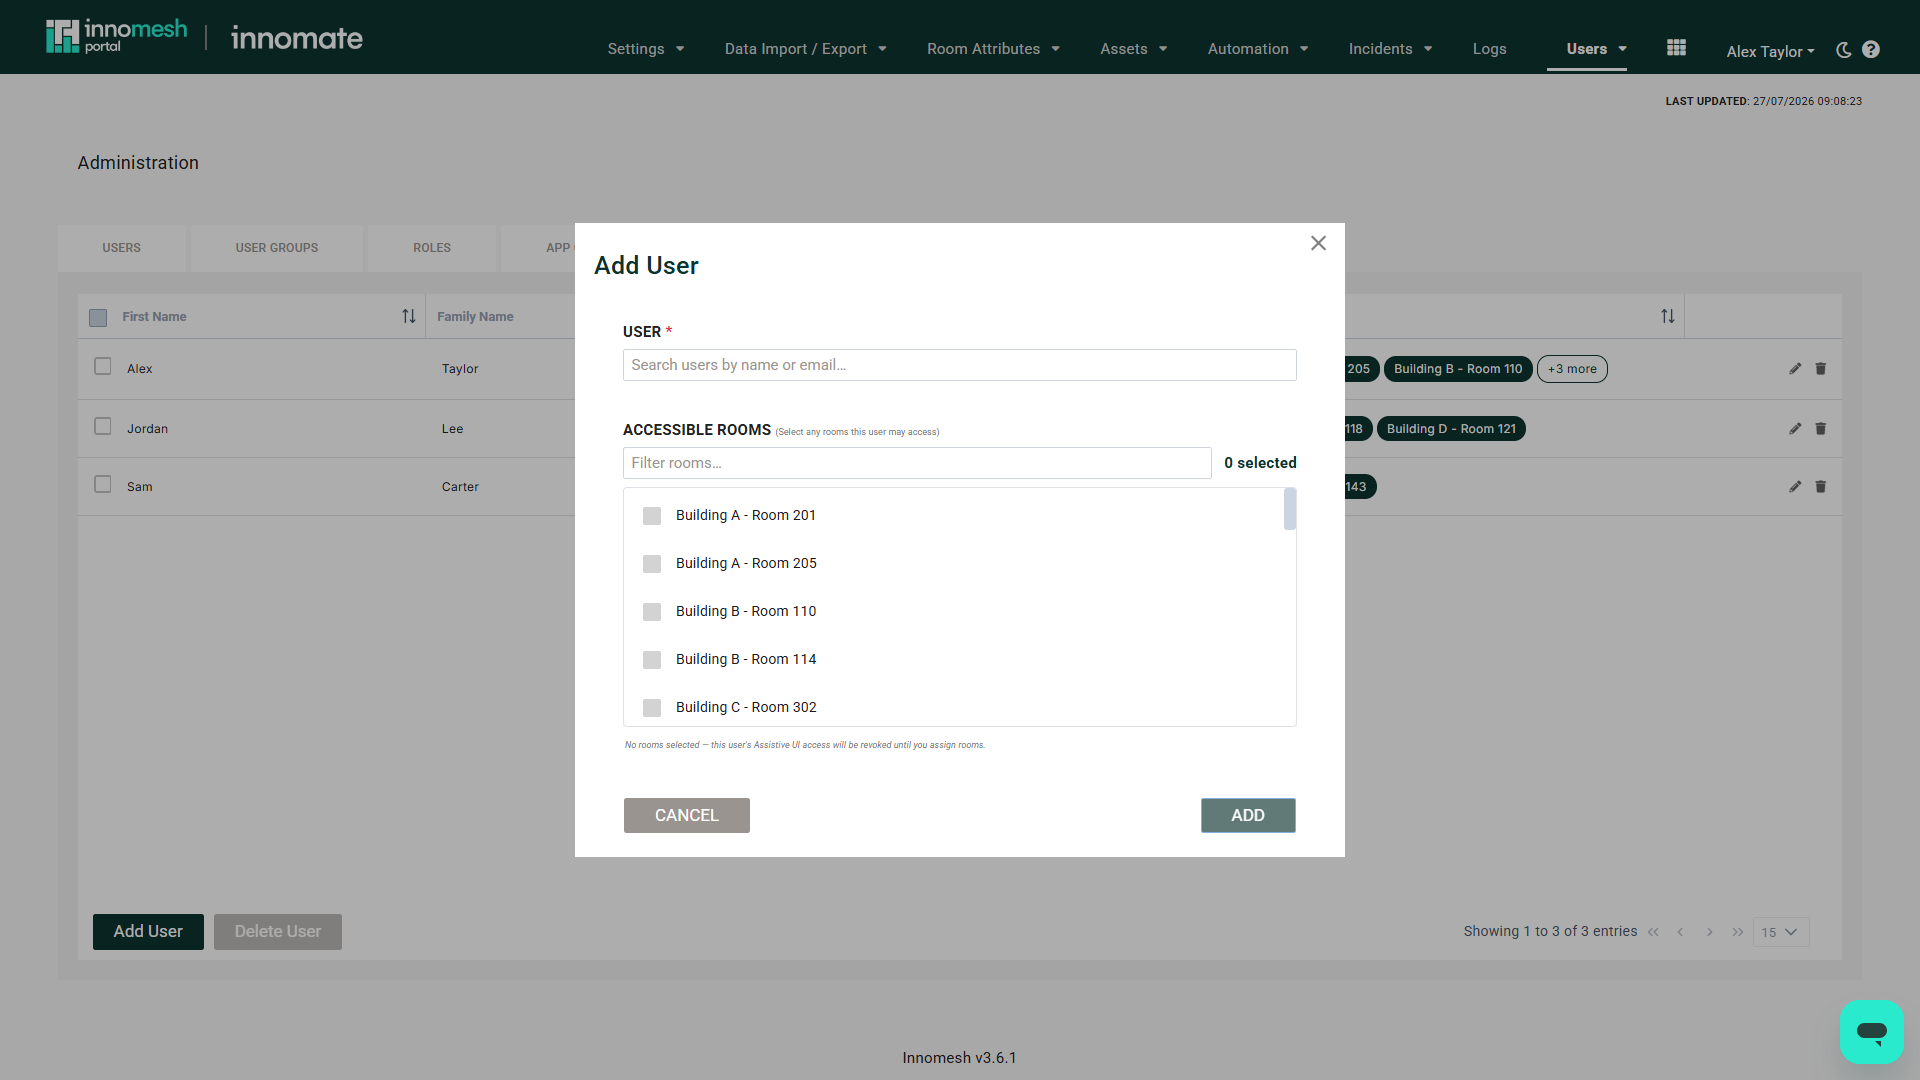
- Click Add User at the bottom of the list.
- In the User field, search the directory by name or email and select the user to grant access to. Selecting a user is the only mandatory step; a user must be chosen from the directory, and the field will not accept free text that does not match a real user.
- Under Accessible Rooms, use the filter box to find rooms and tick each room this user may access. The N selected count updates as you go.
- Click Add.
Editing a User
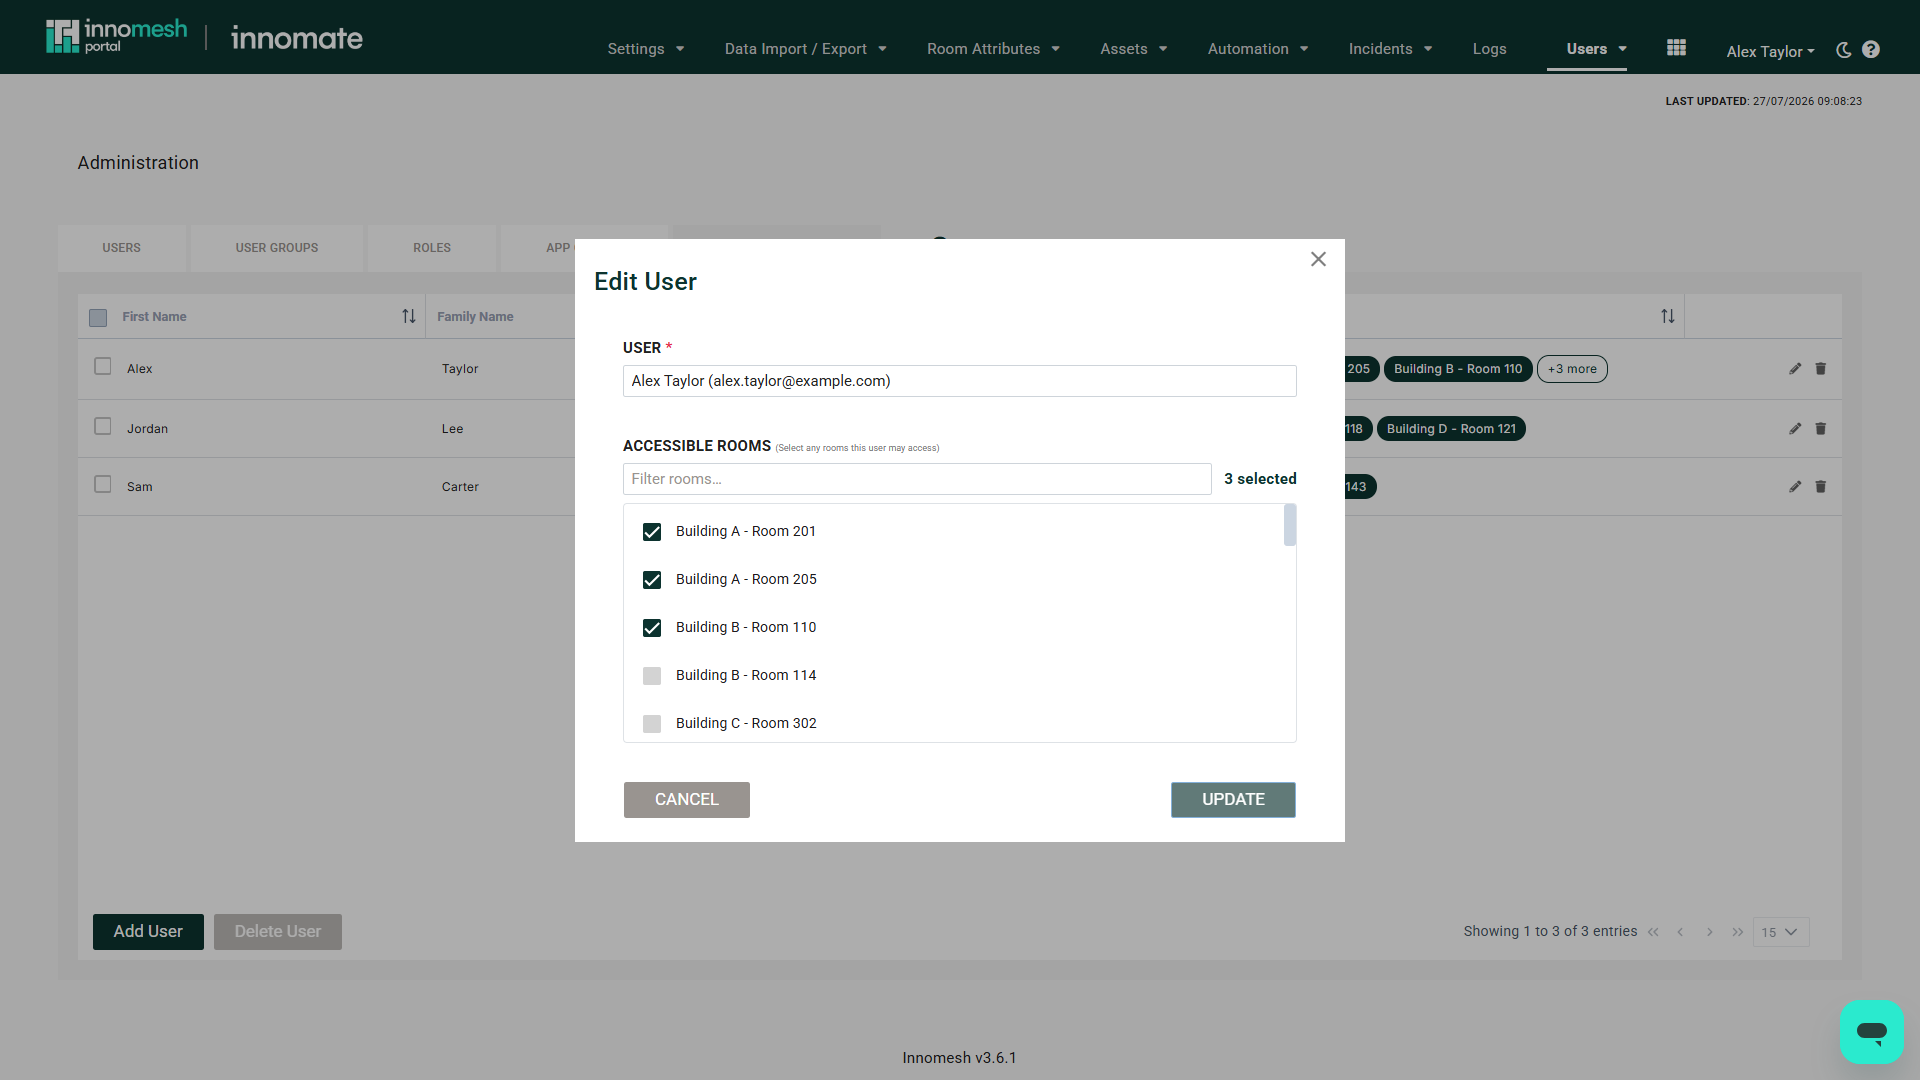
To change a user’s accessible rooms, click the edit (pencil) icon on their row. The dialog opens pre-populated with the user and their currently assigned rooms. Adjust the selected rooms, then click Update.
Deleting a User
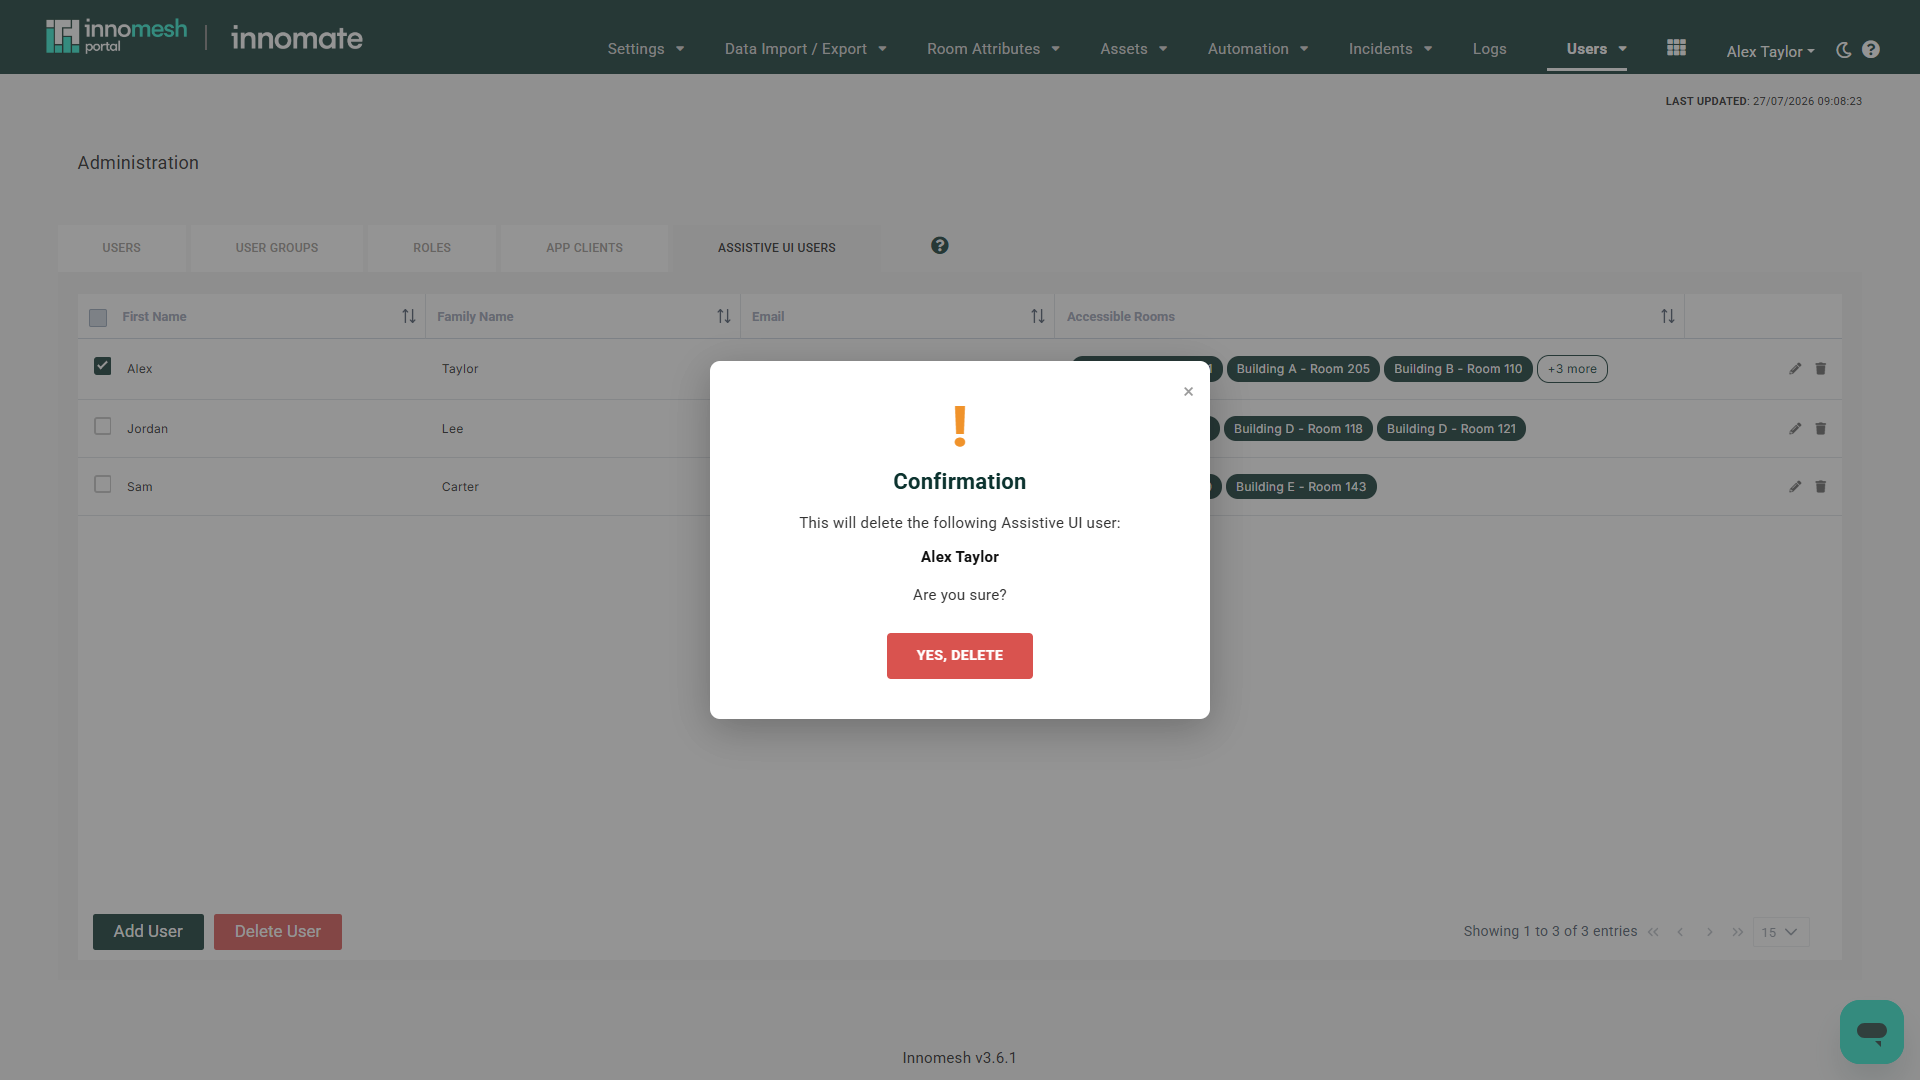
You can remove a single user or several at once:
- Select one or more users using the checkboxes on the left of each row (or use the delete icon on a single row).
- Click Delete User.
- In the confirmation dialog, review the user name(s) and click Yes, Delete.
Deleting a user revokes their Assistive UI access.