

This guide walks through the process of creating a new Space CE template in Innomesh Room Manager.
Step 1: Navigate to the Templates Page
Click the Templates button in the top-right corner of the Innomesh interface to open the Templates page.
Step 2: Add a New Template
Click the Add New Template button. A popup window will appear prompting you to select a system template type. Choose Space CE and click Next.
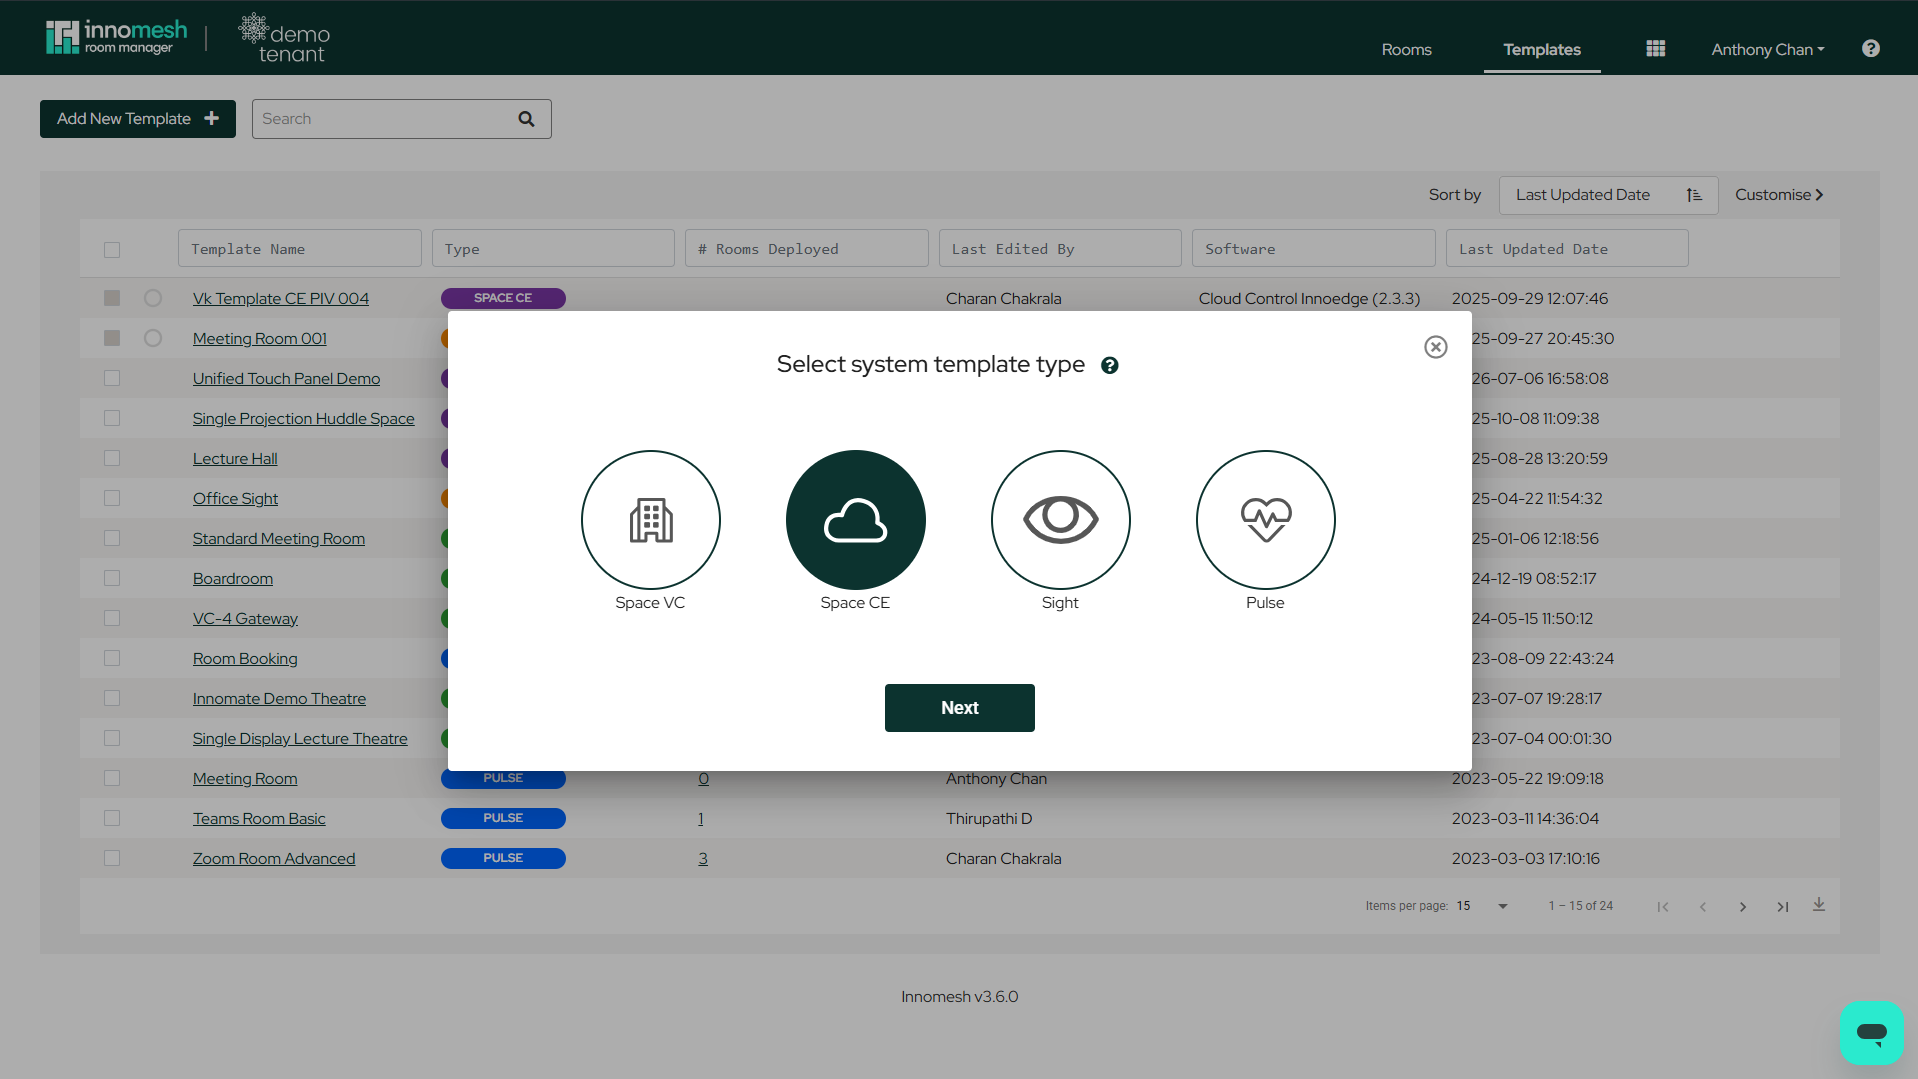
Step 3: Configure the Template
A blank template window will open with a list of configuration sections on the left-hand side. Select each section and enter the required attributes and values.
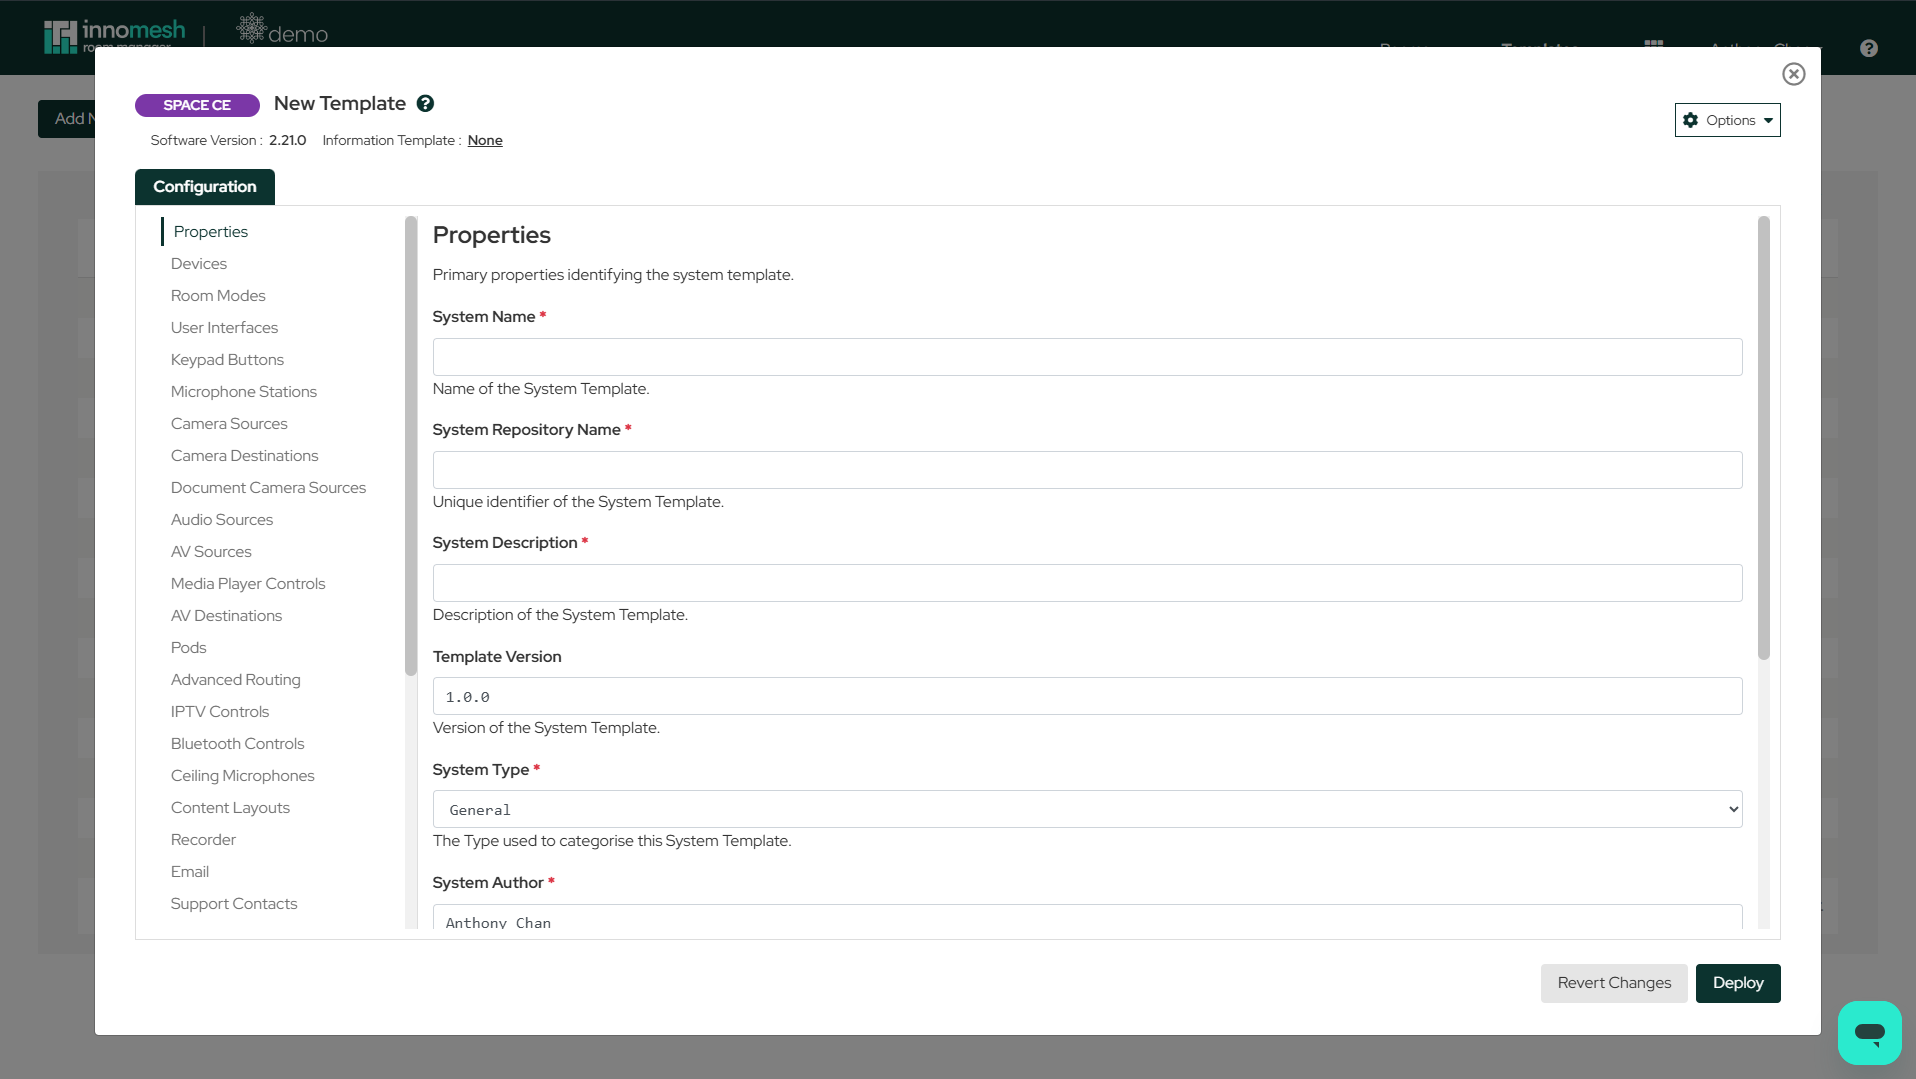
The core configuration sections common to all Space CE templates are:
- Properties: Template name, description, version, type, and portability settings.
- Devices: Hardware definitions for IP devices and gateway devices.
- Macros: Custom event-triggered and time-triggered automation scripts.
- Room Options: Defines which configuration items are editable at the room level.
Additional sections may be available depending on the software package deployed to your tenancy.
Step 4: Configure Room Options
The Room Options section allows you to select the configuration options that you would like to manage at the room level. Only the items selected here will be visible to users when they deploy or edit rooms based on this template.
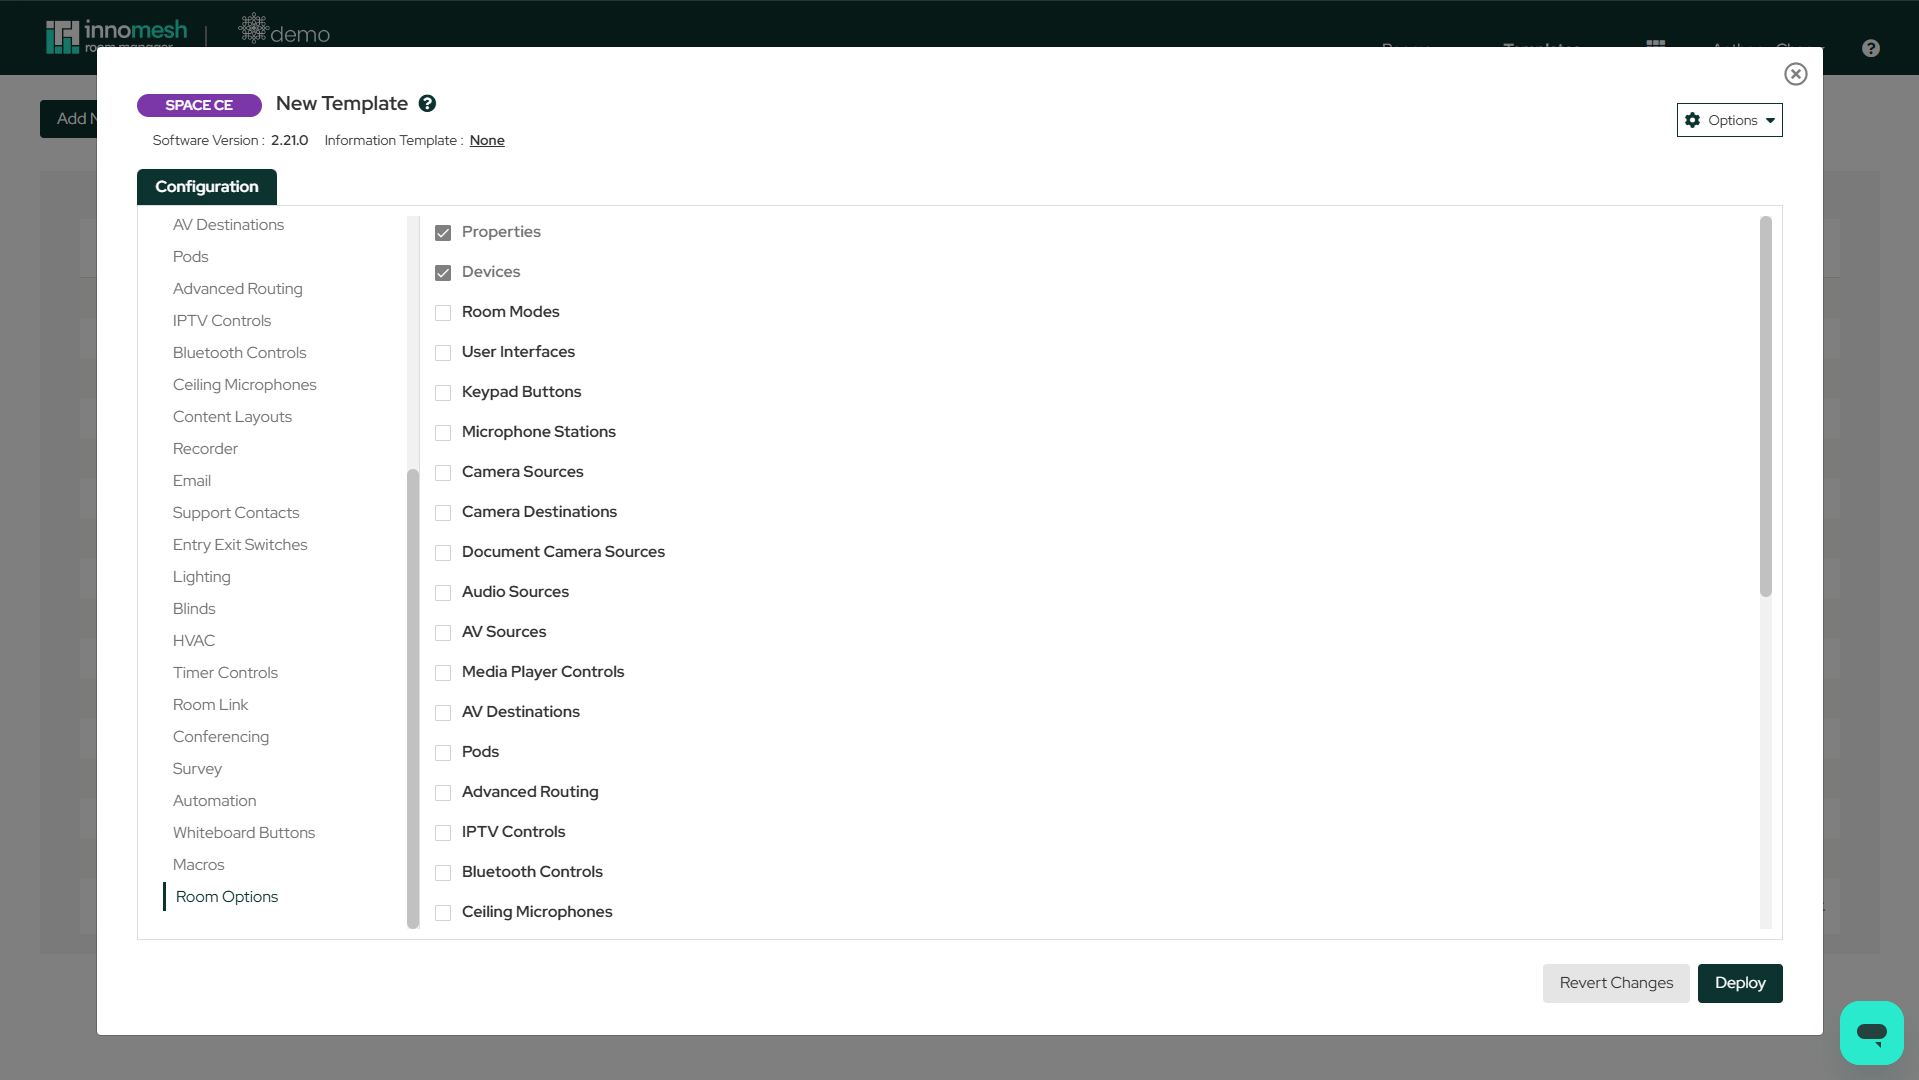
This is particularly useful for enforcing organisational standards when external contractors are deploying rooms. By controlling what is visible, administrators can ensure critical settings remain unchanged.
Step 5: Review Template Header
Across the top of the template configuration window, under the template title, are the following controls:
- Update Information Template: Associate an information template with this template. An information template is a reusable set of room information fields, grouped in its own template — for example, one for teaching spaces and another for meeting rooms — that can be associated with multiple templates representing different configurations of those spaces. See Room Information Onboarding.
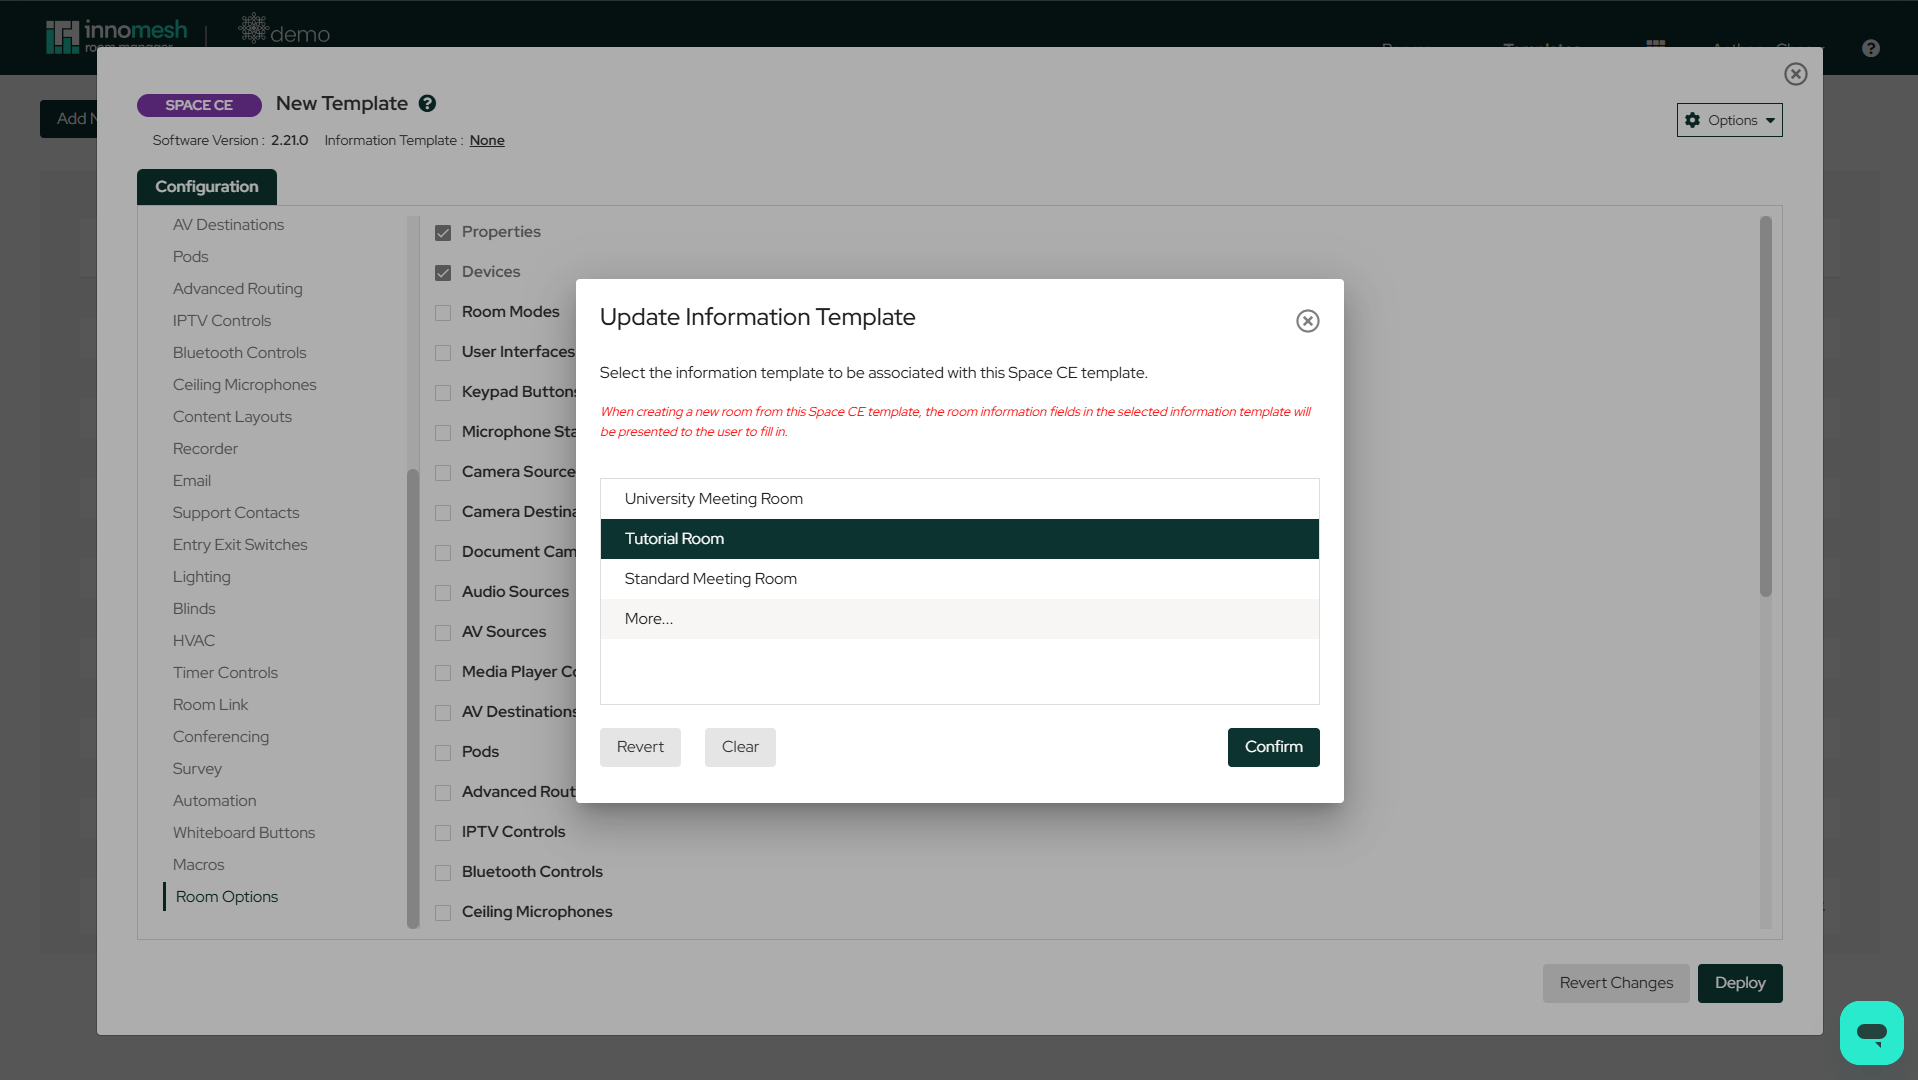
Associating an information template: the selected template's room information fields are presented when a room is created from this template - Software Version: The template’s software version. Shown for both new and existing templates, but cannot be changed for a new template until the template has been created.
- Template History: Shown for existing templates only. Displays the deployment history of the template.
Step 6: Update Template Options
A dropdown Options menu is available in the top-right corner of the template editor, providing template management tools — exporting to JSON, device restrictions, panel settings, pushing updates to rooms, and more. See the Space CE Template - Options Menu for the full list, including which options only become available once the template has been created.
Step 7: Create the Template
Once all sections have been configured, click the Deploy button to finalise and save the template.